
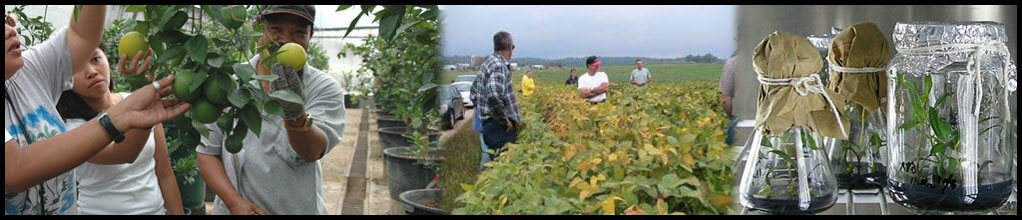
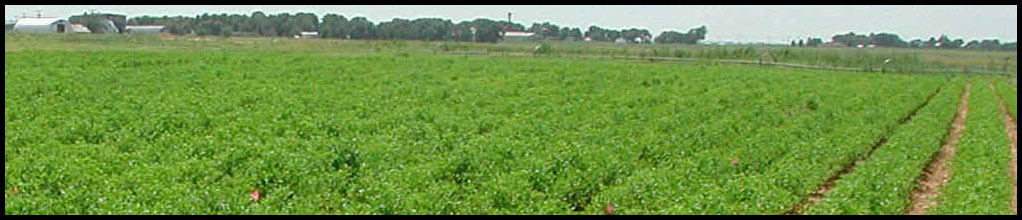
SOIL TESTING
The basic objective of the soil-testing programme is to give farmers a service leading to better and more economic use of fertilizers and better soil management practices for increasing agricultural production. High crop yields cannot be obtained without applying sufficient fertilizers to overcome existing deficiencies.
Efficient use of fertilizers is a major factor in any programme designed to bring about an economic increase in agricultural production. The farmers involved in such a programme will have to use increasing quantities of fertilizers to achieve the desired yield levels. However the amounts and kinds of fertilizers required for the same crop vary from soil to soil, even field to field on the same soil. The use of fertilizers without first testing the soil is like taking medicine without first consulting a physician to find out what is needed. It is observed that the fertilizers increase yields and the farmers are aware of this. But are they applying right quantities of the right kind of fertilizers at the right time at the right place to ensure maximum profit? Without a fertilizer recommendation based upon a soil test, a farmer may be applying too much of a little needed plant food element and too little of another element which is actually the principal factor limiting plant growth. This not only means an uneconomical use of fertilizers, but in some cases crop yields actually may be reduced because of use of the wrong kinds or amounts, or improper use of fertilizers.
Analyses of Soil
A fertilizers recommendation from a soil testing laboratory is based on carefully conducted soil analyses and the results of up-to-date agronomic research on the crop, and it therefore is most scientific information available for fertilizing that crop in that field. Each recommendation based on a soil test takes into account the values obtained by these accurate analysis, the research work so far conducted on the crop in the particular soil areas, and the management practices of the concerned farmer. The soil test with the resulting fertilizer recommendation is therefore the actual connecting link between agronomic research and its practical application to the farmers’ fields. However, soil testing is not an end in itself. It is a means to an end. A farmer who follows only the soil test recommendations is not assured of a good crop. Good crop yields are the result of the application also of other good management practices, such as proper tillage, efficient water management, good seed, and adequate plant protection measures. Soil testing is essential and is the first step in obtaining high yields and maximum returns from the money invested in fertilizers.
How to collect a soil sample
1. Sample each field separately. However, where the areas within a field differ distinctly in crop growth, appearance of the soils, or in elevation, or are known to have been cropped or fertilized and manured differently, divided the filed and sample each area separately.
2. Take a composite sample from each area. Scrape away surface litter, then take a small sample from the surface to plough depth from a number of spots in the field (10 to 15 per acre). Collect these samples in a clean bucket or some such wide container.
3. Where crops have been planted in lines (rows), sample between the lines.
4. Do not sample unusual area. Avoid areas recently fertilized, old bunds, marshy spots, near tress, compost piles, other non-representative locations.
5. Take a uniform thick sample from the surface to plough depth. If a spade or a trowel is used, dig a v-shaped hole, then cut out a uniform thick slice of soil from bottom to op of the exposed soil face, collect the sample on the baled or in your hand and place it in the bucket.
6. Pour the soil from the bucket on a piece of clean cloth or paper and mix thoroughly, discard, by quartering, all but 1 to 2 lbs. of soil. Quarterly may be done by mixing sample well, dividing it into four equal parts, then rejecting two opposite quarters, mixing the remaining two portions, again dividing into four parts and rejecting two opposite quarters, and so on. The sample should be dried in the shade for an hour or two before it goes into the cloth bag container.
7. Each cloth bag should be large enough to hold a pound or two of soil, and should be properly marked to identify the sample.
8. Fill out the soil sample information sheet for each sample. These forms may be sent separately to the laboratory or enclosed with the soil sample.
Address the samples to the Soil Chemist, Soil Testing Laboratory, Goal Ghar, Port Blair.
9. Keep a record of the areas sampled and a simple sketch map for reference when you get the soil test and fertilizers recommendation report from the soil testing laboratory.
News & Events
CURRENT OPENING
Vacancy open to All India (Every State) as
1. Zonal manager in all Zone,
2. Tehsil Manager at every Tehsil in District,
3. Block Manager at every Block in District,
For Detail information Kindly contact at +91-8964854642 your mail your updated resume along with your photograph at
info@sawsindia.org
enquiry@sawsindia.org
Donate

PD Services
Current Account No. : 1412125701
Bank Name : KOTAK MAHINDRA BANK
Branch : 10 No., Bhopal
IFSC Code : KKBK0005886